Manage Your Contents
- Troubleshooting? Check out our guide here.
In this article
Add tags to your Bulbs
- From My Bulbs, you can either click Add Tags in the Tags column, or select the triple dots icon > Settings to open the Bulb Settings dialog.

- Click Tags to expand that section.
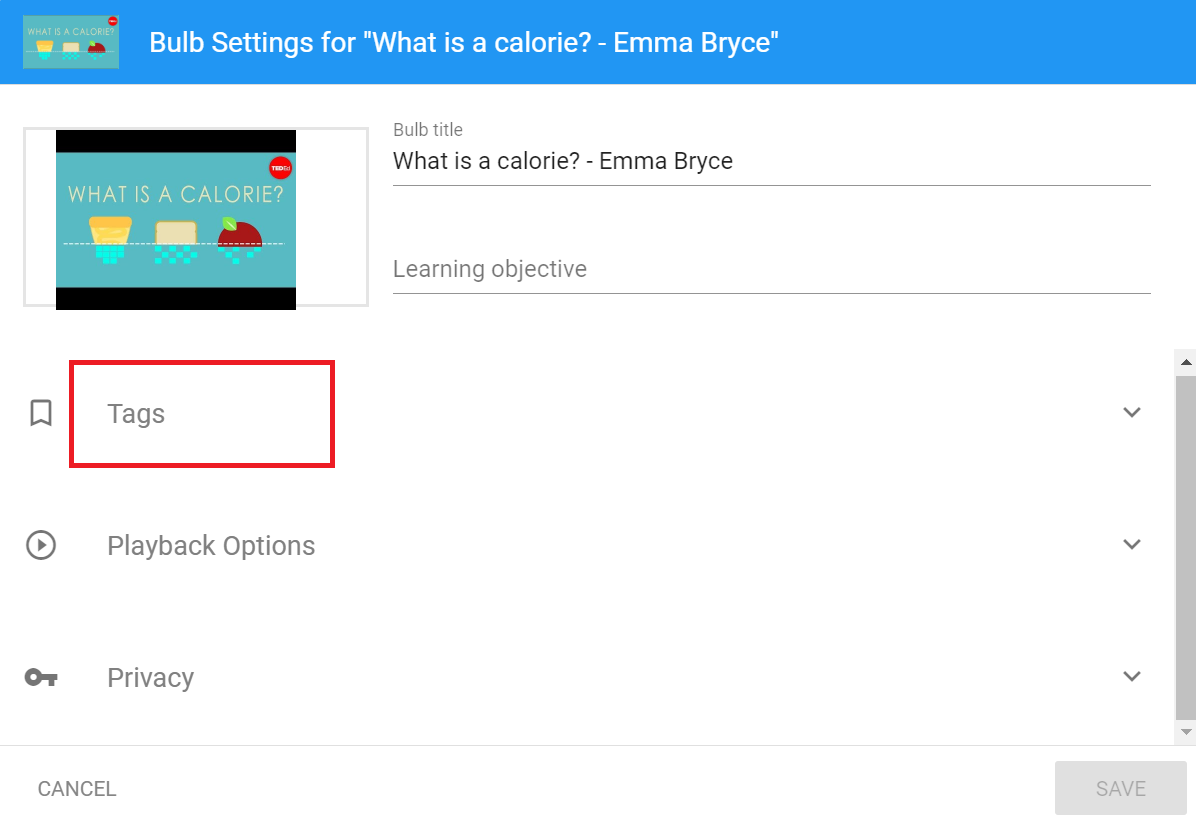
- Next, either type or select the tags that you want to apply to this bulb and click Save.
- Keywords/Tags are user-generated content. You can type any keyword you want to use in this field.
- Target Audience is a PlayPosit-generated list of options that you can choose from. Click here to request new entries.
- Subject is a PlayPosit-generated list of options that you can choose from. Click here to request new entries.

- The Tags column should now display your chosen tags.


Filter your bulbs
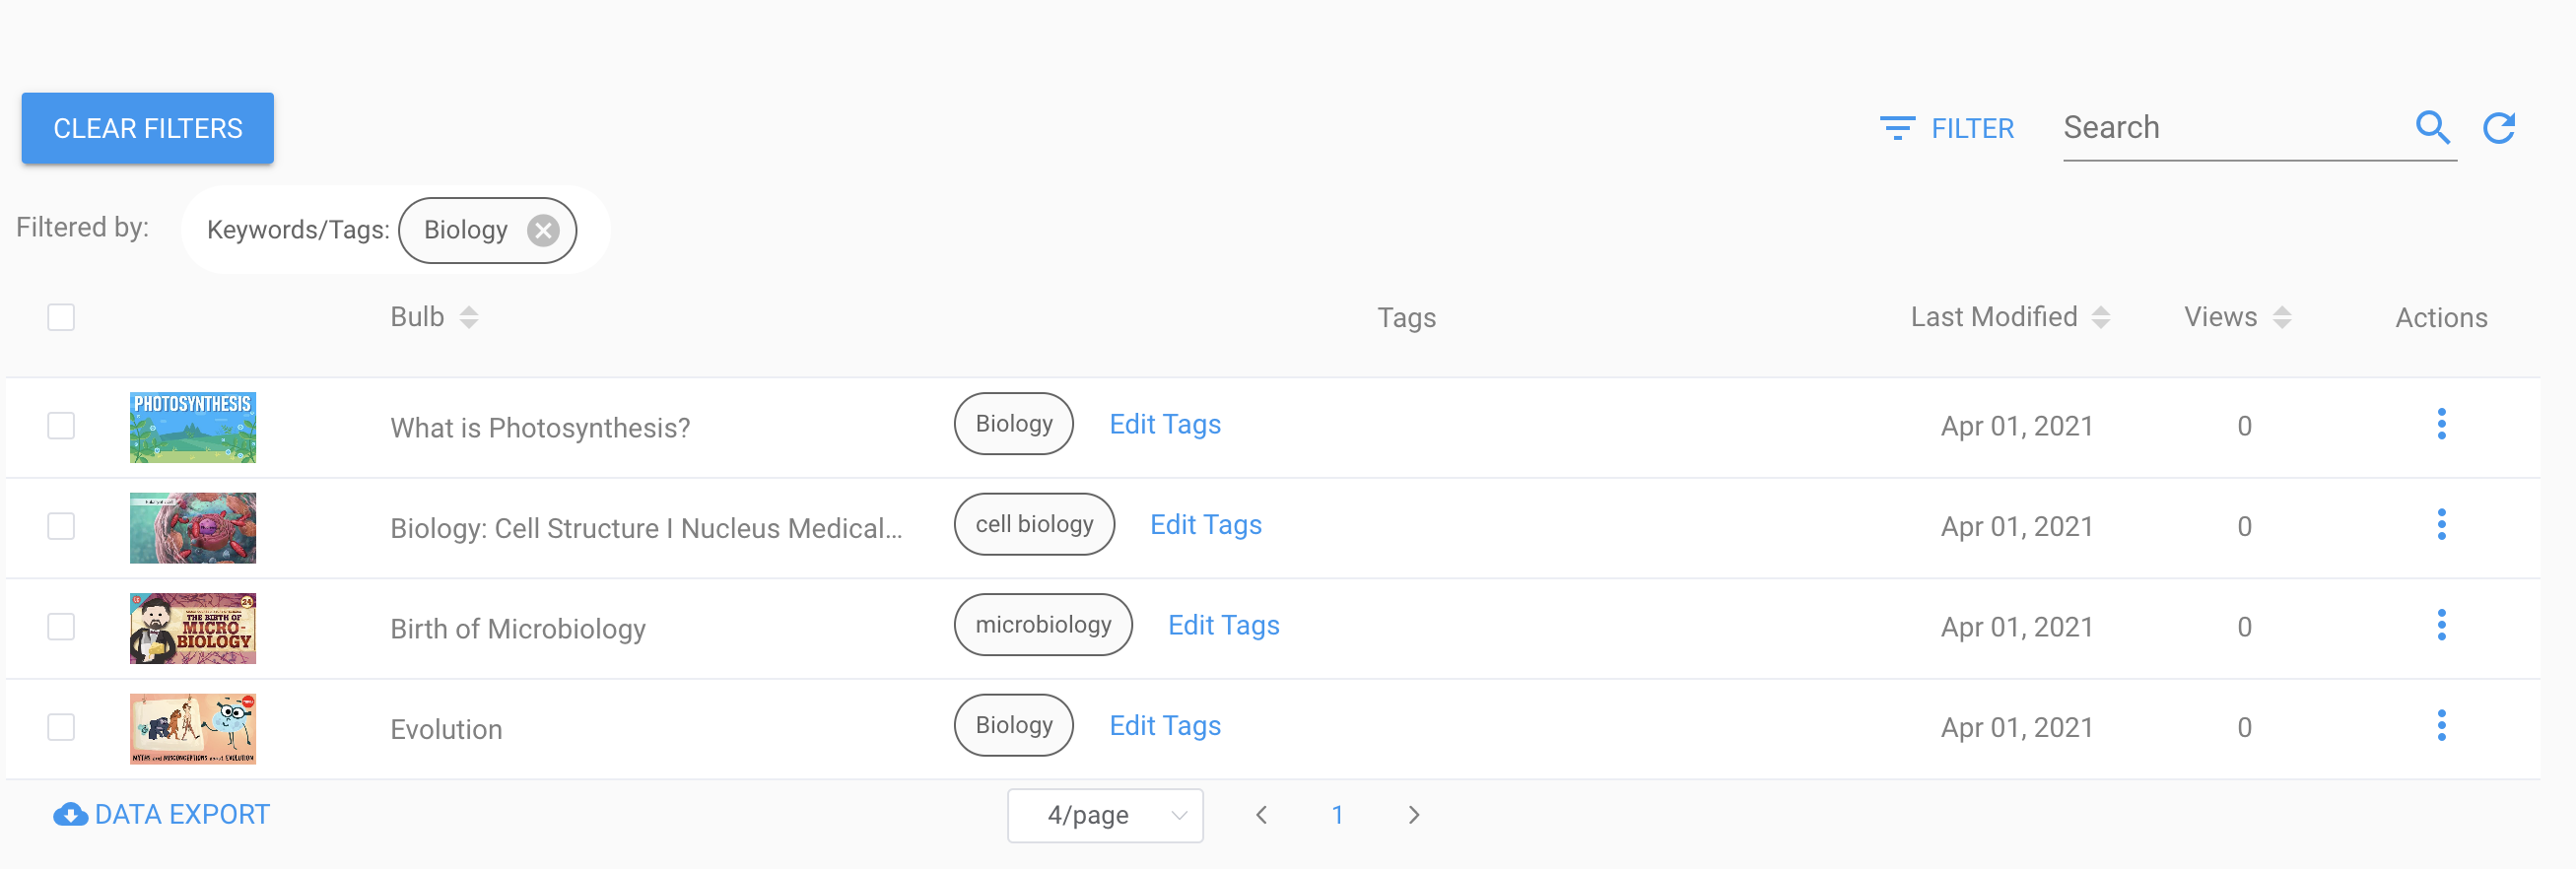
- From My Bulbs, click Filter and type in your desired Tags, Target Audience, Subject, Bulb Role or Bulb ID. Click Filter in the dialog.
- My Bulbs should now only display bulbs that match your desired filters.
- If you filter by Tags, it will return all bulbs containing that keyword.
- When searching with tags, there are two suboptions:
- Exact match only: Only show the bulbs with exactly the same tags. For example, if searching for “biology” with the Exact Match Only option, the bulbs tagged with “microbiology” will not show in the search results.
- Exclude tags: Exclude the tags enter in the filter. For example, instructors can add an “Archived” tag to the bulbs that are not in use anymore. When searching for the bulbs, they can exclude the “Archived” tags to filter out those bulbs.


Where to find the Bulb ID
To find a Bulb ID, preview the Bulb and the Bulb ID will appear in the address bar as bulb_id= followed by a string of numbers. 
Change other bulb settings
You can now change the bulb thumbnail, title, and learning objectives outside of the Designer! For more information, refer to this help article.
- From My Bulbs, click the triple dots icon > Settings to open the Bulb Settings dialog.

- Edit the Bulb Title or Learning Objective by clicking into those text input fields. Instructors can use the Learning Objective section to document the content standard and the desired learning outcomes for the Bulb. The Learning Objective is meant to be a tool to help instructors organize the Bulbs. It will not be visible to the learners, and instructors can view them in the CSV file export from My Bulbs page.

- Edit the thumbnail by clicking on the picture.

- Click Playback Options to expand that section and check the desired boxes. Click here to learn more about the different Playback Options.

- Click Privacy to expand that section and select the desired privacy setting for your bulb.

- Remember to Save your changes!


Batch Bulb Settings
You can also do batch settings for multiple Bulbs. Please follow the steps below to adjust the Bulb settings for multiple Bulbs at once.
- Select the Bulbs by clicking the checkbox in front of them and select Batch Settings on the top. Please note that only the Bulb owned by you can be selected.

- Adjust the individual Bulb's settings or select Apply to All from the top to do batch settings.

- Add tags, adjust playback options, or adjust the privacy settings for all the selected Bulb.

- After adjusting the settings, click Apply to apply the change to the selected Bulb.


Note: The batch settings will not overwrite the original Bulb settings but only add the newly enabled playback options to the Bulb. For example, if a Bulb has the Allow learners to skip interactions option enabled, and the instructor uses the batch settings to enable the Allow viewers to fast forward option. After adjusting the batch settings, both options will be enabled for this Bulb.
Add tags to your playlists
- On the Playlists page, click Add tags behind the desired playlist.

-
Enter or select the tags that you want to apply to this playlist and click Save.
- Keywords/Tags are user-generated content. You can type any keyword you want to use in this field.
- Target Audience is a PlayPosit-generated list of options that you can choose from. Click here to request new entries.
- Subject is a PlayPosit-generated list of options that you can choose from. Click here to request new entries.


Delete contents
If the instructor is the owner of the Bulbs or playlists, they can follow the steps below to delete the Bulbs or playlists from their account. Please note that the learners' data in the deleted Bulbs and playlists will not be accessible after deletion. Please ensure to export the data before deleting the contents.
Bulbs
- Click the thumbnail image or the triple dots button and select Delete.

- Click Download Data to download the learners' data from the Bulb, then click Delete to delete the Bulb.


You can also delete multiple Bulbs in bulk by following the steps below.
- Select the Bulbs by clicking the checkbox in front of them and click Delete on the top.

- Select Download Data to download the learners' data from these Bulbs. The data will be merged into one CSV file. After downloading the data, click Delete to delete the selected Bulbs.

Playlists
- Export the playlist data from the class. Please see this article for more information.
- Click the playlist icon or the triple dots icon and select Delete to delete the playlist.

